Inflation and Deflation Routine for an Inflatable Boat: Valves, Gauges and Packing Away
Inflating a boat looks simple: attach a pump, add air, launch. In practice the routine at the start and the end of each outing affects how long valves, fittings and folded fabric last, and it is where many avoidable problems begin. Raft Inflatable, the catalog brand of Weihai Reachsea Outdoors Co., Ltd, does not publish a universal pressure figure, and it explains why. This article turns the site's guidance on valves, pressure checks and packing into a repeatable routine that works with your boat's own manual.
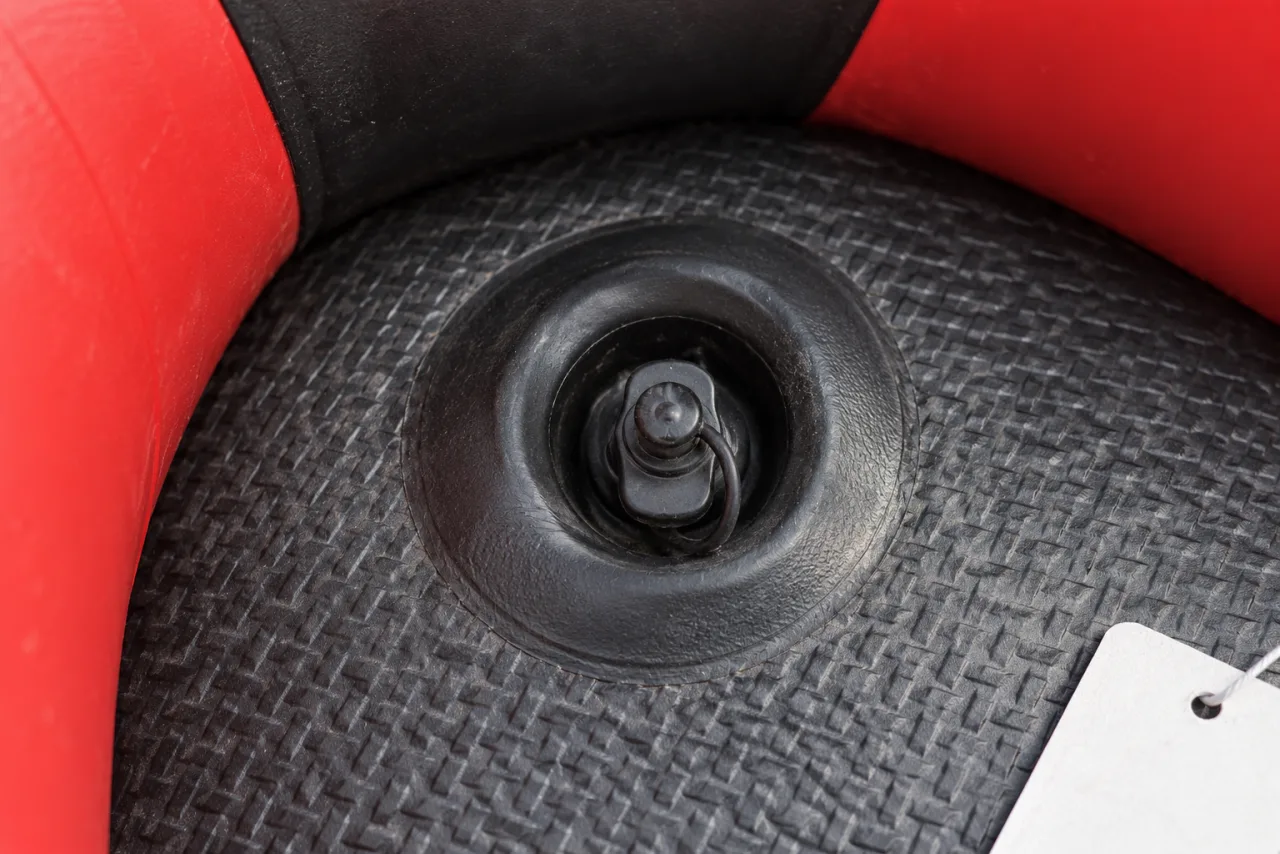
Identifying the valves on an inflatable boat before inflation. Image: raftinflatable.com.
Before the first inflation: know your valves
The site's guide to inflatable boat valve identification starts with the boat identity: model, serial identification and production revision where available. Photograph each valve and its markings without removing it, and check the manual and spare-parts list for the manufacturer name and part number.
Next, separate valve functions. Identify which fittings are inflation valves and which are pressure-relief or drain components, and note whether tubes and floor use different parts. A cap of matching colour does not establish that the hidden body or function is the same. Do not order a replacement by cap diameter alone, and do not dismantle a valve to identify it; begin with external markings and the manual, and follow only the authorized service procedure.
Inflation: follow the chamber-specific instructions
The pressure checks guide is clear that tubes, keel and air floor may each have separate instructions. A routine that respects that looks like this:
- Confirm the manual. Match the manual to the model, floor option and revision. If documentation is incomplete or conflicting, request the inflation sequence and operating limits in writing.
- Check the adapter. Use the adapter confirmed for that valve. Do not force a nearly fitting adapter; obtain the correct part.
- Check the gauge. Confirm the gauge range suits the specified chambers and that its units match the manual. A connector that fits mechanically does not prove its pressure indication or shutoff setting is suitable.
- Inflate in the stated sequence. Follow the manufacturer order for tubes, keel and floor, finishing each chamber to the documented value.
Do not borrow a figure from another brand, and do not assume a paddle-board pump setting applies to a raft. Firmness by touch is not a substitute for the instructions.
Choosing the right pump for the job
The site's pump selection guide separates filling from final pressure. Some electric inflators are designed to provide initial airflow and still require a hand pump for finishing, so ask the supplier to explain the exact unit capability and duty instructions instead of inferring it from motor wattage or advertising language. Confirm power input, connectors, cable length and permitted operating environment, and carry a compatible manual alternative if your plan depends on it. A pump that moves air through a loose nozzle may not provide the intended sealed interface with the valve.
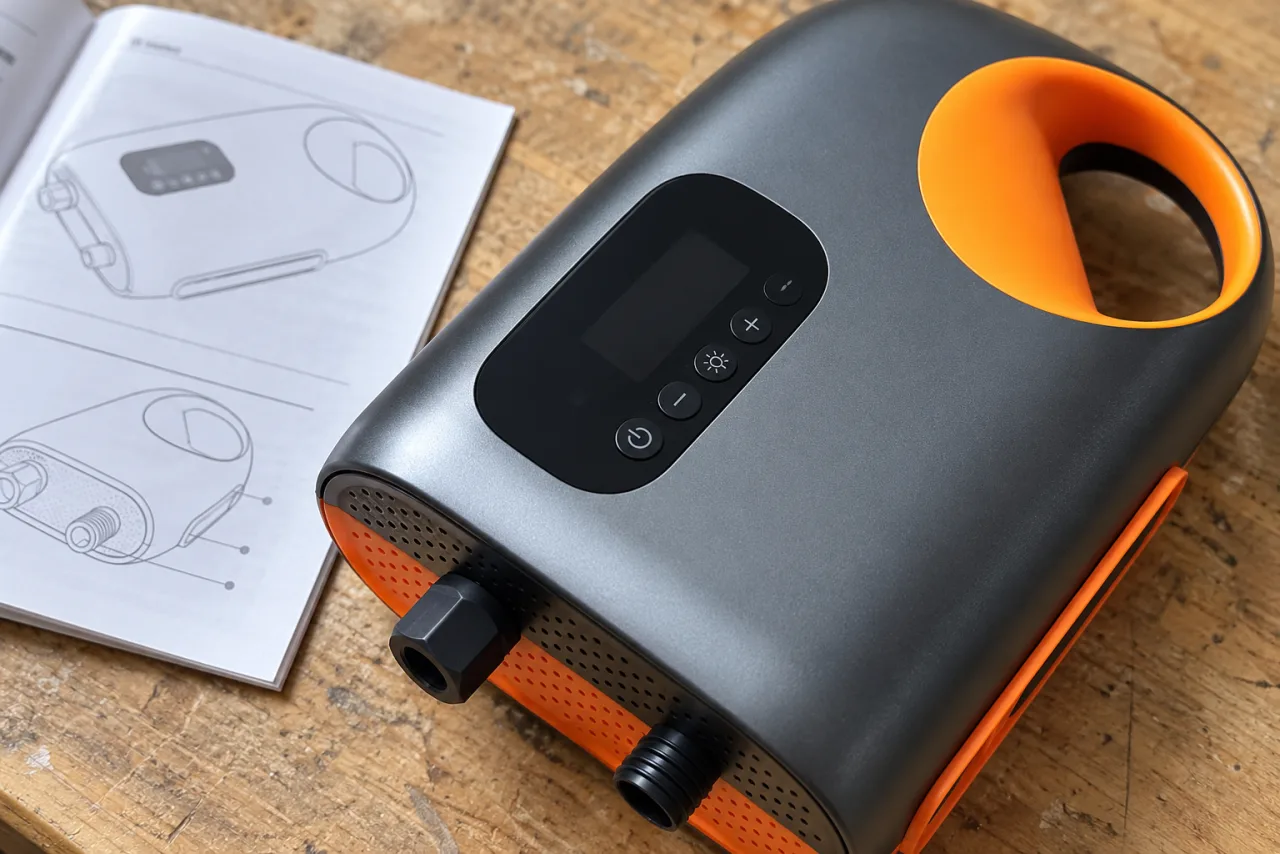
Checking inflatable boat chamber pressure with a gauge. Image: raftinflatable.com.
During use: temperature and symptoms
Manufacturer care guidance cited by the site explains that temperature changes can affect chamber pressure. Follow the selected model's instructions for monitoring and adjustment, including while the boat sits ashore. A soft-feeling tube does not by itself prove a leak, because temperature and measurement conditions also matter.
If a chamber behaves unexpectedly, stop and check the manual rather than repeatedly adding air. Record the chamber, gauge reading, conditions and timing for the supplier. A visible bulge, a persistent pressure concern or an uncertain instruction needs qualified review before the boat is used again.
Deflation and packing away
The end of the routine matters as much as the start. Clean and dry the boat according to the manual before long storage; the site warns that a closed bag can conceal retained moisture, so a storage bag does not make wet storage acceptable.
When packing, the site's packed size guide recommends asking the manufacturer for the recommended folding arrangement so pressure is not concentrated around valves or fixed fittings. Forced compression can stress fittings and folded material, so do not squeeze the boat smaller than the manual describes to make it fit. A used boat rarely packs as neatly as the factory bundle; allow space for wet bags and separated rigid pieces, and follow the manufacturer's packing instructions.
Record any issues found at deflation, such as a valve that did not seat properly, while they are fresh. That record helps when you order a part or ask the supplier a question later.
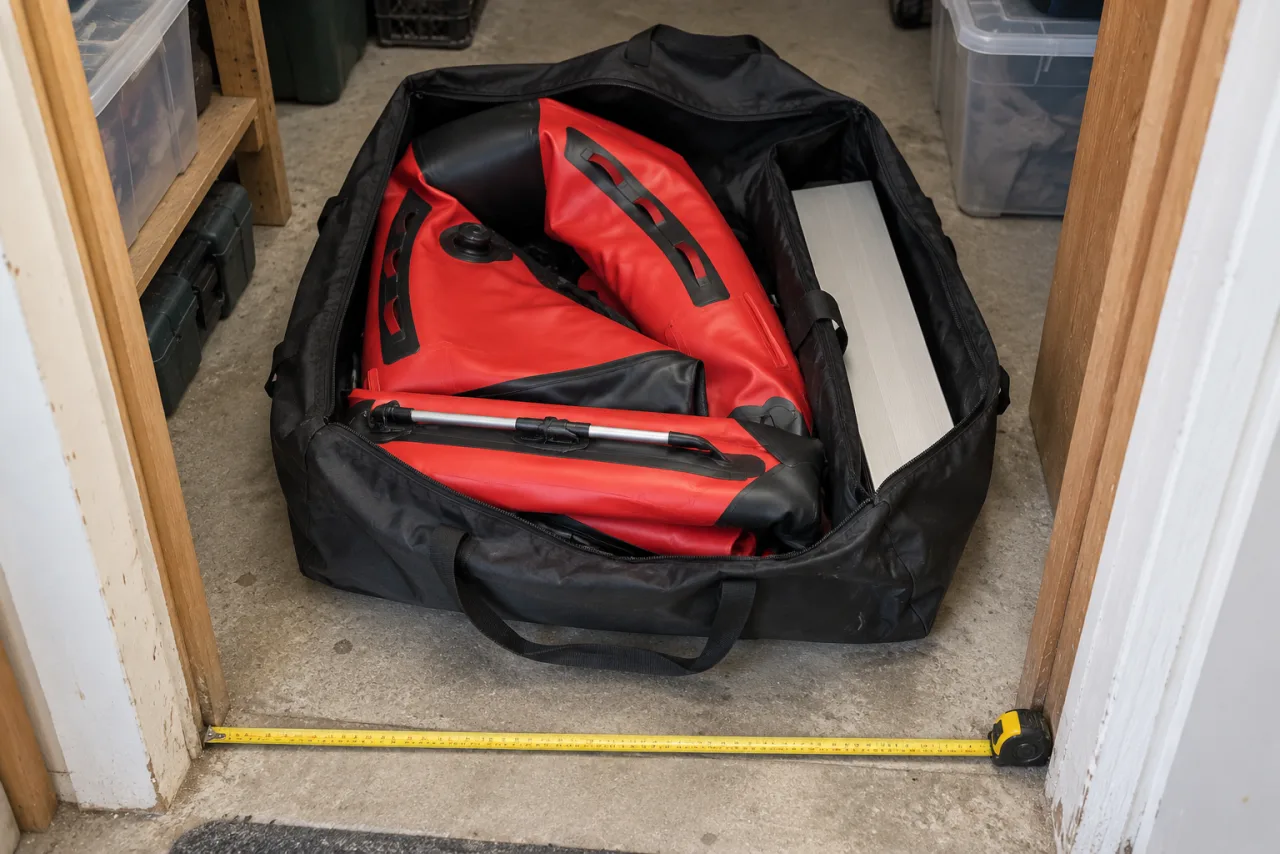
Packed inflatable boat bags and floor panels after deflation. Image: raftinflatable.com.
Getting the documents for a new boat
For a new order, ask for the model-specific manual covering inflation, cleaning, drying and storage, as the site's PVC raft guide recommends, together with a list of valve and adapter part numbers. If the documents are missing, request them through Raft Inflatable's contact page before the first outing.
FAQ
Is there one inflation pressure for the whole boat?
Not necessarily. Tubes and air floors may have different requirements; follow the exact model instructions for each chamber.
Does a soft tube mean the boat is leaking?
No. Temperature and measurement conditions can affect pressure; investigate using the manufacturer procedure.
Can I identify a valve by cap diameter?
No. Use the exact part identifier and manufacturer confirmation.
Can I compress the boat further to fit a smaller space?
Follow the manufacturer packing instructions; forced compression can stress fittings and folded material.
Contact Raft Inflatable: email sale@raftinflatable.com · raftinflatable.com